Tutorial#
In this tutorial, we’ll cover:
how to get started with
datapactin a Jupyter Notebookhow to use built-in assertions
what’s the difference between
.shouldand.musthow to write custom assertions
how to use
datapactin data pipelines
To start, set up a Jupyter notebook, install pandas and datapact, load up the Iris Dataset, and create a new datapact test object:
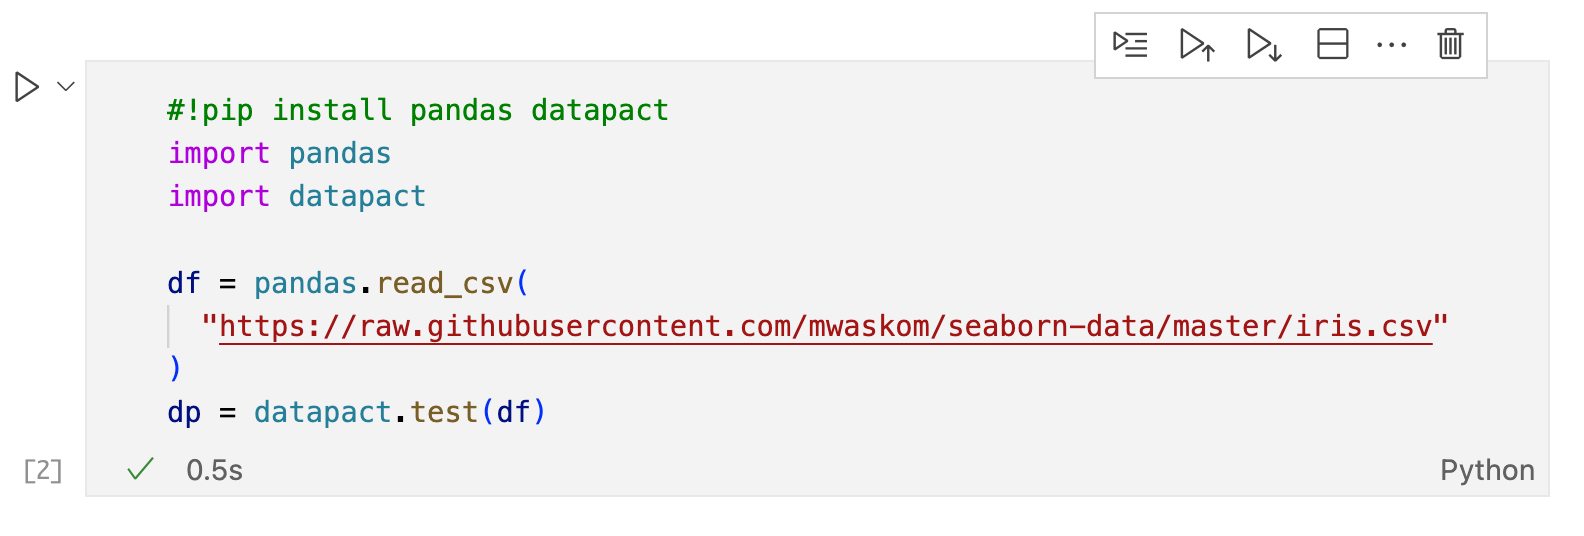
I named the datapact test object dp as a shorthand for datapact.
Let’s write our first tests!
Let’s dissect what’s going on here:
similar to DataFrames,
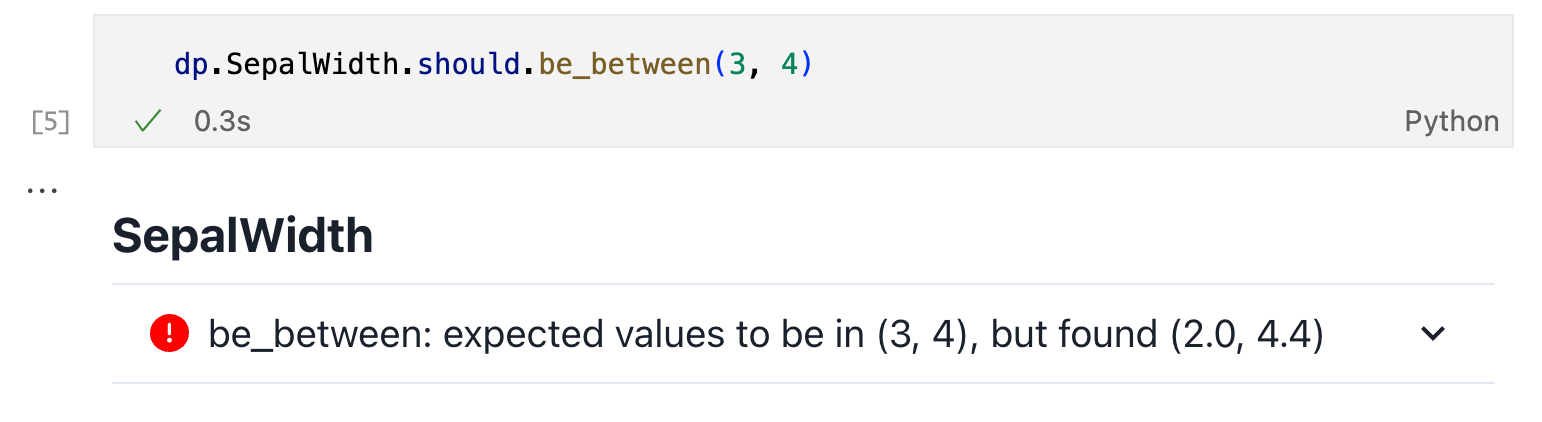
dp.SepalWidthaccessses theSepalWidthcolumn of the dataset.shouldspecifies the severity -.mustis critical,.shouldonly triggers warnings.be_between(3, 4): asserts column values to be in range[3, 4]
The full statement can be read like a sentence: “The sepal width should be between 3 and 4.”, and in a Jupyter Notebook, a visual test result will be displayed.
Continue by writing some more tests. To see which expectations are available, either use your editor’s autocomplete or the Expectation Reference.
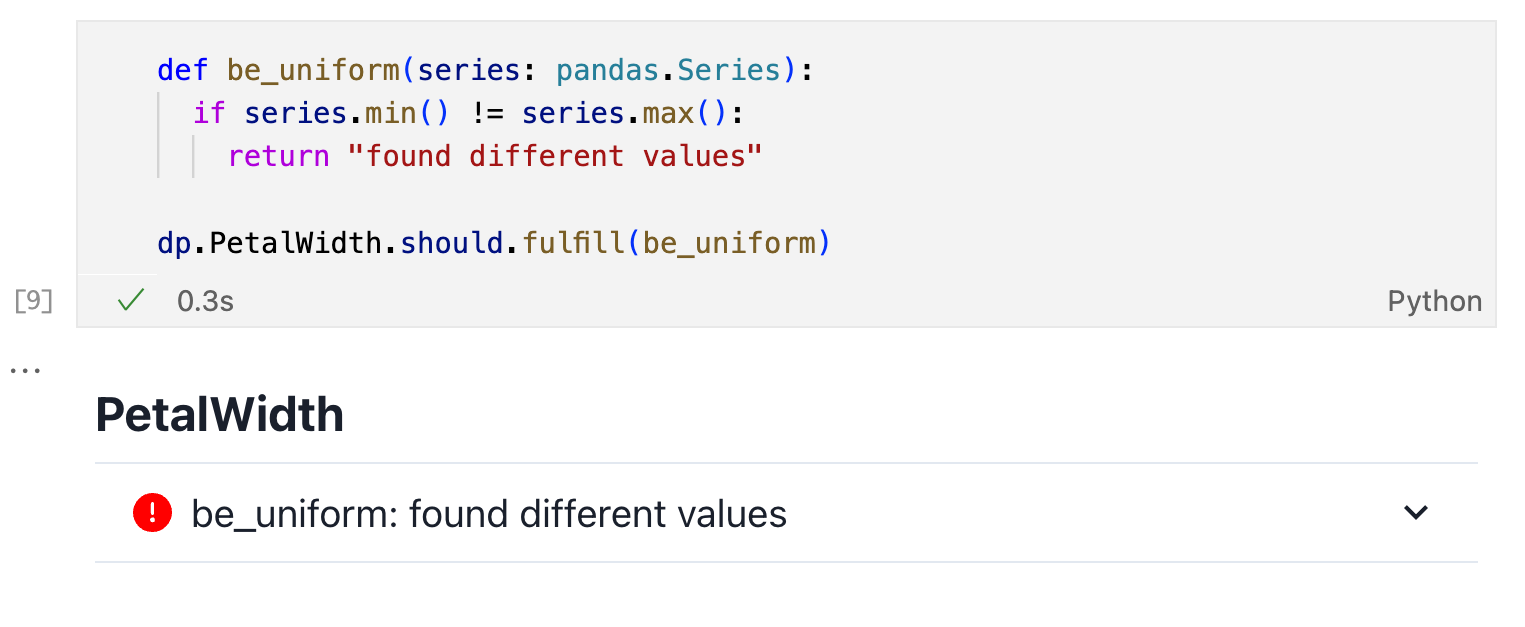
If you’re missing an expectation, you can write a custom one using .fulfil:
After exploring your data and writing your tests in a Jupyter Notebook,
you can transfer them to a Python Script for usage in your data pipeline.
In the snippet below, the .check method is used to
throw an exception when there are failing critical expectations.
import pandas, datapact

df = pandas.read_csv("https://raw.githubusercontent.com/mwaskom/seaborn-data/master/iris.csv")
dp = datapact.test(df)

def be_uniform(series: pandas.Series):
  if series.min() != series.max():
    return "found different values"

dp.SepalWidth.should.be_between(3, 4)
dp.SepalLength.must.be_between(5, 6)
dp.PetalWidth.should.fulfil(be_uniform)

dp.check() # 💥
Continue by reading through the API Reference and Expectation Reference. For production-critical usecases, take a look at Datapact Track.